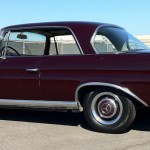
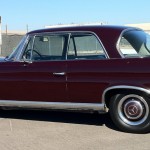
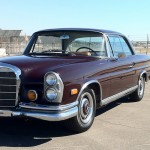
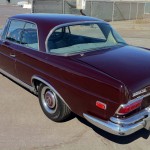
This video shows W111s being assembled. The coupes and convertibles were not built on this assembly line as they were all hand built.
Brakes Revisited
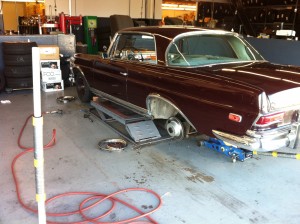
I’ve always done my own brake work. With all due confidence I ordered new disks and pads for all four corners. However, when I started to look at what was involved I thought I would have it done.
With all my other cars, getting the brake disks off is a one screw deal. Not on this ‘ol girl. In true German form the disks are quite attached.
To remove the disks one ends up having to repack the bearing and the disk is attached to the flange that the wheels mount to from the inner edge by half a dozen bolts. Not know how well seized they would be clenched the deal so the wheels went back on and I headed over to Z Benz in San Pedro.
This turned out to be an even better idea than it at first appeared as the left rear caliper was well seized. Luckily they were able to rebuild the caliper and have the car ready to pick up the next day. While it was there I also had them change the fuel filter and do a quick oil change.
The brakes now feel terrific. Z Benz did a really nice job and were more than reasonable on cost.
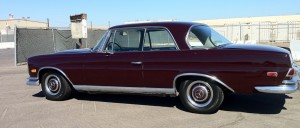
Blackwalls It Is.
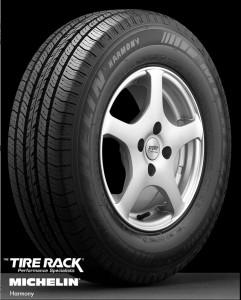
After long debate and consideration I decided to go with the Michelin Harmony 205 70R 14.
While I at first liked the idea of a white wall the more I thought about it, the more I though that they might, with my wheels, start to look like there were just too many concentric rings. Maybe if I were more of a Dante fan…
Since it was going to be black walls Michelin just jumped out as the most appropriate choice.
Call me shallow but I just don’t think “Hankook” looks right on the sidewall of a German classic.
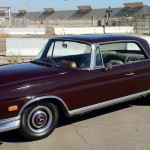
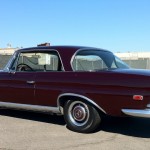
New Tires Necessitates New Pics
To Blackwall or Whitewall
The 250SE left the factory in 1967 on 185 HR14s. Back then tire aspect ratios were not designated. Today we can choose from a myriad of aspect ratios, in the sixties motorists only had to select the width and the diameter.
Doing an internet search for 185 HR14 returns very few results. Some are insanely expensive tires that were never specified by Mercedes but seem to be promoted as being period authentic. This makes no sense to me. Surely it would be a negative at a show and they’re probably not as good as a major brand.
I dropped by Lucas Tires to see what they had on hand. The Vredesteins had a great looking tread pattern but at $157 each I thought I’d call the Classic Center in Irvine to see what they had to say. They said, that despite what they left the factory with, that if the 250SE were going into their collection they would be installing 205 70 14s. They didn’t really have a specific tire to recommend though but did agree that Michelin was probably the best bet.
TireRack has a set of 4 Michelin Harmony priced at $412. Since Lucas sells those I’m going to go back there to see if they can give me a good price.
And, I still haven’t decided whether or not to keep looking for whitewalls.
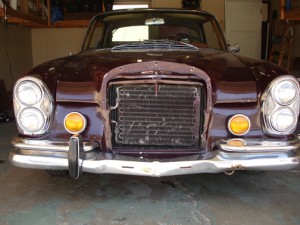
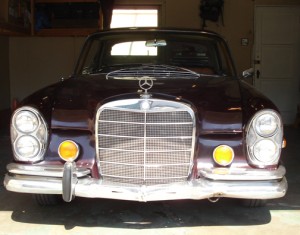
Getting grilled
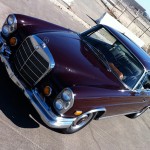
A classic Mercedes without its grill is just not right – so getting it back on was a priority.
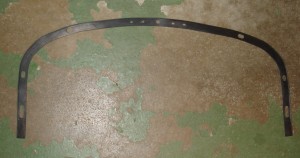
The car came with all of its original owner’s books. The owner’s manual is an amazing thing. It includes a lot of information on maintenance and includes sections showing all the parts in expanded view. After a look through the parts that were included in a box in the trunk when I bought the car and comparing what I had to the parts diagram in the owner’s manual, I was off for my first trip to the Mercedes Classic Center in Irvine.for the rubber seal that fits between the grill and the bodywork and a couple of other odds and ends.
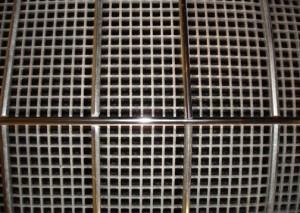
The grill was missing a horizontal and its vertical chrome grill strip. The Classic Center only had narrow horizontal elements and, of course, mine needs wide ones. So I bought two vertical elements (this took two trips to Irvine to figure out – always bring a sample if possible) and cut one to fit horizontally.I did this with a Dremel. This too took two trips but this time to the hardware store. The first Dremel I bought was a basic model and when I looked through the instructions you really do need the better model with variable speed settings.
This is how it turned out. It’s not bad but the strips that are available through the Classic Center are round. The originals have a seem across the top so the replacements will do for now but I’m going to try to find some original ones.
Installing the grill is a two man job. You need someone to hold the grill while the seven attaching bolts are tightened. Aligning the rubber seal and getting the grill aligned at the same time as well almost makes it three but I managed to get it done while keeping the numbers to the minimum.
It’s been years that she’s been grill-less.
The Case of the Missing Fog Lamp
The car arrived missing a front fog/turn signal lamp unit that had apparently been stolen at some point and it’s grill removed and stowed in the trunk. The fog lamp was the first job tackled as I had come across a set of replacement lamps a week before I took delivery of the car and had them on hand.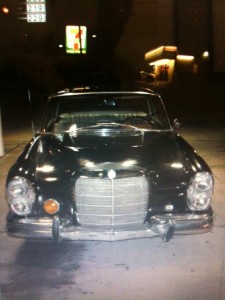
There was a distinct scratch in the paintwork just above the lamp mount. When I removed the mount a very evenly rusted old end to a slot screwdriver fell out. For some reason the left over evidence and that the thief broke his screwdriver made me laugh out loud. Never a good thing to be caught doing alone in the garage.
Tackling wiring on this car is a breeze. The wires are nice thick gauge and the connectors are slot-head screws – no delicate stuff here.
The lamps bolt in from behind the front fascia panel and the only thing that you’ll need to remove is the air filter housing. if you have to work on the one on that side. The left side has clear access.
To make sure that the lamps matched I bought a pair and replaced both.
The Quest for Enlightenment – Shop Manuals
EBay is a great place. I went searching for shop manuals for the car and came across a fellow that collects old Mercedes repair manuals.
I’ve ordered the service manual and the full version of the spare parts list.
The First Lessons – Brakes are Important
The first lesson I’ve learned is that I will NEVER again drive a newly acquired classic home. The next one comes home on a trailer.
The brakes felt OK, not great, but OK when I test drove the car and I had not actually closed the hood myself. So on the way home, which included to short freeway hops, I was wondering about the shake I could see the hood doing but dismissed it as just out of adjustment. The real attention-getter came after I exited the freeway and the brake pedal went to the floor.
I looked down and could not, for the life of me, remember where the emergency brake was. A quick couple of pumps of the brake pedal brought the pressure up just in time to prevent a shunt with a unsuspecting Honda. I figure the Benz would have won that one though.
Classic Mercedes gently tucked into the garage I decided that I had best begin with the brakes.
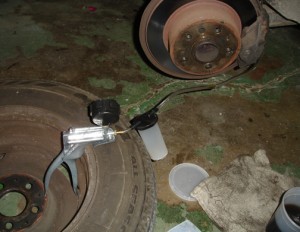
After a quick look around the brake system there didn’t seem to be any leaks but the pads and disks were looking a little thin so I ordered front and rear disks and pads from AutohausAZ and picked up a brake bleeder vacuum test kit from Sears for $60.
I also bought a set of small deep metric sockets. A friend who owns a couple of classic Mercedes advised me not to try to first open the brake bleed valves with a wrench as there’s a really good chance of them being a bit stuck and the chances of rounding things off with a wrench are pretty high. He suggested using a deep 9mm socket to loosen the bleeder valves and use the wrench only for the actual bleeding.
I had never used a vacuum bleeder setup so I looked to YouTube for a video and found a training video that I think was posted by Sears but I seem to have mislaid the link.
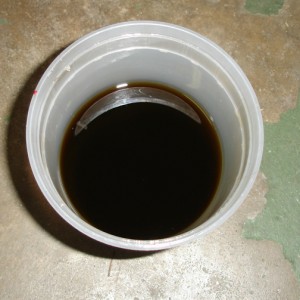
The fluid that came out was darker than black coffee. It should be a light, clear yellow color.
I did a little research and learned that over time the non-synthetic brake fluid is designed to absorb water from the brake system to prevent corrosion. The synthetic won’t do this so is really on suitable for racing applications. I also learned that I had not use the right type of brake fluid in performing the flush of the brake system. I used DOT3 and Mercedes calls for DOT 4 non-synthetic which is nearly impossible to find, even here in car-crazy Southern California. All the car parts places have synthetic for DOT4 and 5. The only place I found it was at the dealership. $20 for 1 liter. So one more flush is coming.
After the first brake fluid flush I took the car out for a test drive and the brakes had vastly improved and no hint of any more pedal to the floor.
Rory Sutherland: Life lessons from an ad man.
This is one of my favorites from the TED site.

